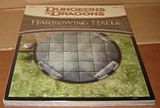
To start off with, here's my 3rd set of the Harrowing Halls tiles, which I decided I needed after I wanted to do 3-D platforms for one of the encounters of the Kobold Hall adventure in the D&D 4E DMG.
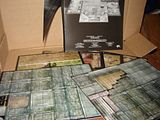
followed by a brief glimpse of the contents;
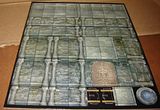
Followed by a glimpse of the 1st 3-D tile page
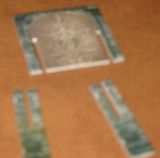
To start with, let's build a table. Gently punch out the following pieces, taking great care with the inner pieces that need to be removed from them.
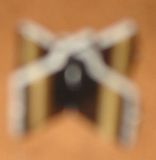
As you can see, I've already started to put them together. Assembly is easy; just fit the bottom slot of one leg piece into the top slot of the bottom piece.
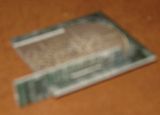
When you're done, the bottom should be flush, so as to set it flat on the tabletop. Then, punch out a tabletop piece (I chose the round one), and punch out the inner cross-shaped piece.
See the small cross-shaped tab on your table legs? Fit that into the hole in your table top piece, and you have a completed table.
Next, we'll make a door with the following pieces. As before, be careful when punching them out and removing inner tabs from the slots.
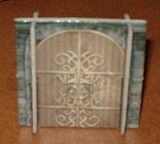
Take one of the slender side pieces, and slide its tab into one on the door, making sure that the bottom is flush.
Move onto the next one, and stand it up. Now you have a door that you can move around as wish.
That's if for now, come back later as I show how to build platforms and stairwells.



Thank you! I feel really stupid now that I see how simple it was. Please... Hurry up and post the 2nd part!
ReplyDelete