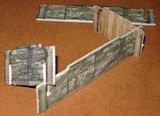
first up, a 2"x4"x1" platform. Here's the pieces you'll need;
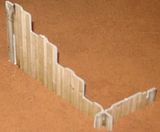
Making sure that the tabs on each wall point upward, slide the wall pieces' slots together.
when you get all four together, it should look like this;
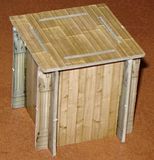
Remember when I said to make sure that the tabs on each piece stayed on top? Well, now you can set the roof/platform piece's slots into those tabs. And because the tiles are reversible, you can have them in either wooden or stone dungeon walls and floors. (Shown with mini to show strength of platforms).
Next, my favorite of the elements, the stairwell. You'll need the following pieces to build this piece.
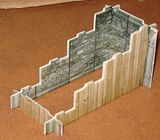
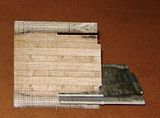
Begin by slotting the walls into the front wall piece as shown in the following pictures;
Then slot in the back wall.
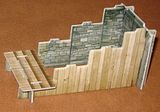
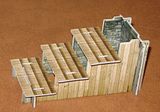
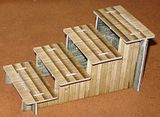
Now the fun part-- setting in the stairs. Start with one of the steps with three slots (you should have two of them), and set it into the three tabs at the bottom. Then move up and add the two two-slot stairs. Finally, set the last 3-slot stair in at the top.
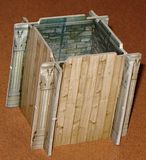
But we're not done with the stairs yet. There's also a 2"x2"x2" platform that sits behind the stairwell. Lay them out to make sure the tabs are on top, and then slide the slots together. Note I've shown the two slots parallel in this image to show how the slots will fit.
Like the 1" platform before, slot the walls together;
After that, set the roof/platform on, and then set the completed platform against the back of the stairwell.
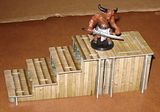
And that's about it. Here's a picture of all of the 3-D elements in the set fully assembled.
If I haven't mentioned it before, these dungeon tiles are (c) and TM Wizards of the Coast 2010.







No comments:
Post a Comment